I used to buy paneer from the stores until I realized how simple and tasty it is to prepare it at home.Not to mention we can vouch for its freshness.The texture is also very different from the store brought paneer.Once u try this version I am sure you will never go in for the ones in the store.
Here is a step-by-step procedure to prepare it at home.
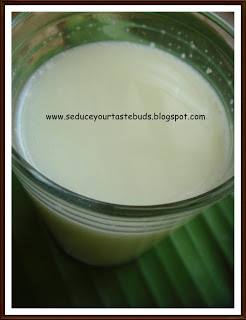
1.Heat the required quantity of milk in a vessel.Bring it to boil ans switch off the flame.[Here I used 1 litre milk]
 2.Squeeze out the juice of lemon into the vessel.[I used half a lemon].Vinegar can also be used.If it does not curdle immediately/fully add some more lemon juice/vinegar.
 3.The milk will curdle immediately.Let it stand for sometime [around 10-15 minutes].

4.Strain the contents of the vessel.

5.Remove the paneer onto a vessel and wash with water a couple of times to remove sourness.

6.Drain and transfer the paneer onto a muslin cloth/cheese cloth.
 7.Squeeze out the water and hang the cloth till the whey completely drains out.[It took an hour!]
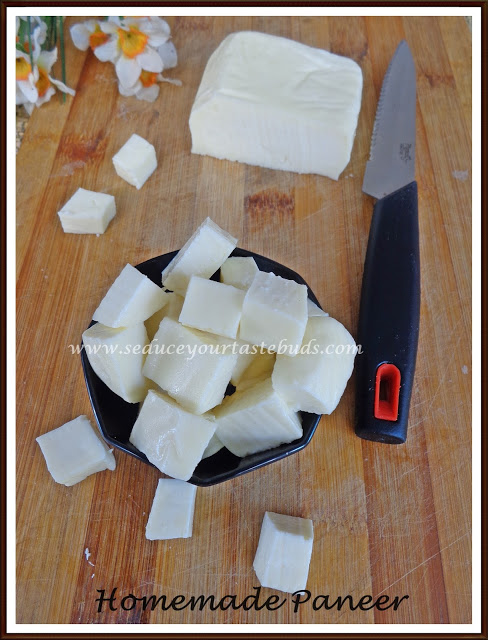
Paneer is now ready to be used in a dish of your choice.
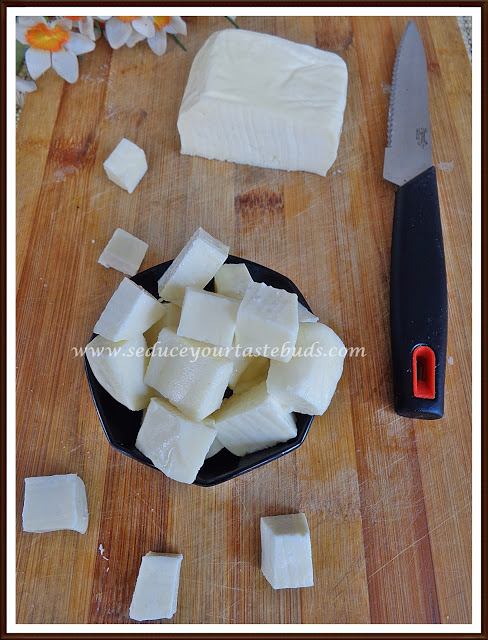
I got just this much paneer from 1 litre milk.
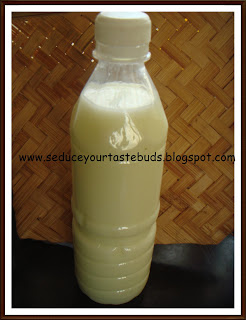
 Whey is very nutritious .So here is what we can do with it…
- Store this whey in the fridge and the next time you prepare chapathi/Roti use this water to make the dough.
- It can also be used instead of lemon juice[as a starter] the next time u make paneer.
- Use it as a soup base
- Add a pinch of salt and drink it up
- Use it while preparing baked goodies.
- Use it in milkshakes instead/with milk.
Happy cooking…


Well worth the effort. Great tip to use the whey, have lot of nutrients in theat too.
Love the step-by-step instructions. I too made it yesterday 🙂
I always prefer Home-made paneer to the store bought one… and thanks for the helpful tips, PJ
Great post..
this is really nice..I too make paneer in home..but never used those water..that tips are so cool
I did it! I made paneer!!